Microsoft Teams for online meetings

Find out everything you need to know about online meetings.
Popular pages on the Library website
Online meetings are also called virtual meetings, virtual lectures or webinars. They enable participants in different locations to use their mobile or internet connected devices to meet and collaborate together in a ‘virtual’ room.
Your University timetabled online lectures take place in Microsoft Teams, and you can access them via the Microsoft Teams link provided in your Blackboard module areas. Microsoft Teams makes it easy to meet online with your tutors, and to share/present files during an online meeting as a piece of assessed work.
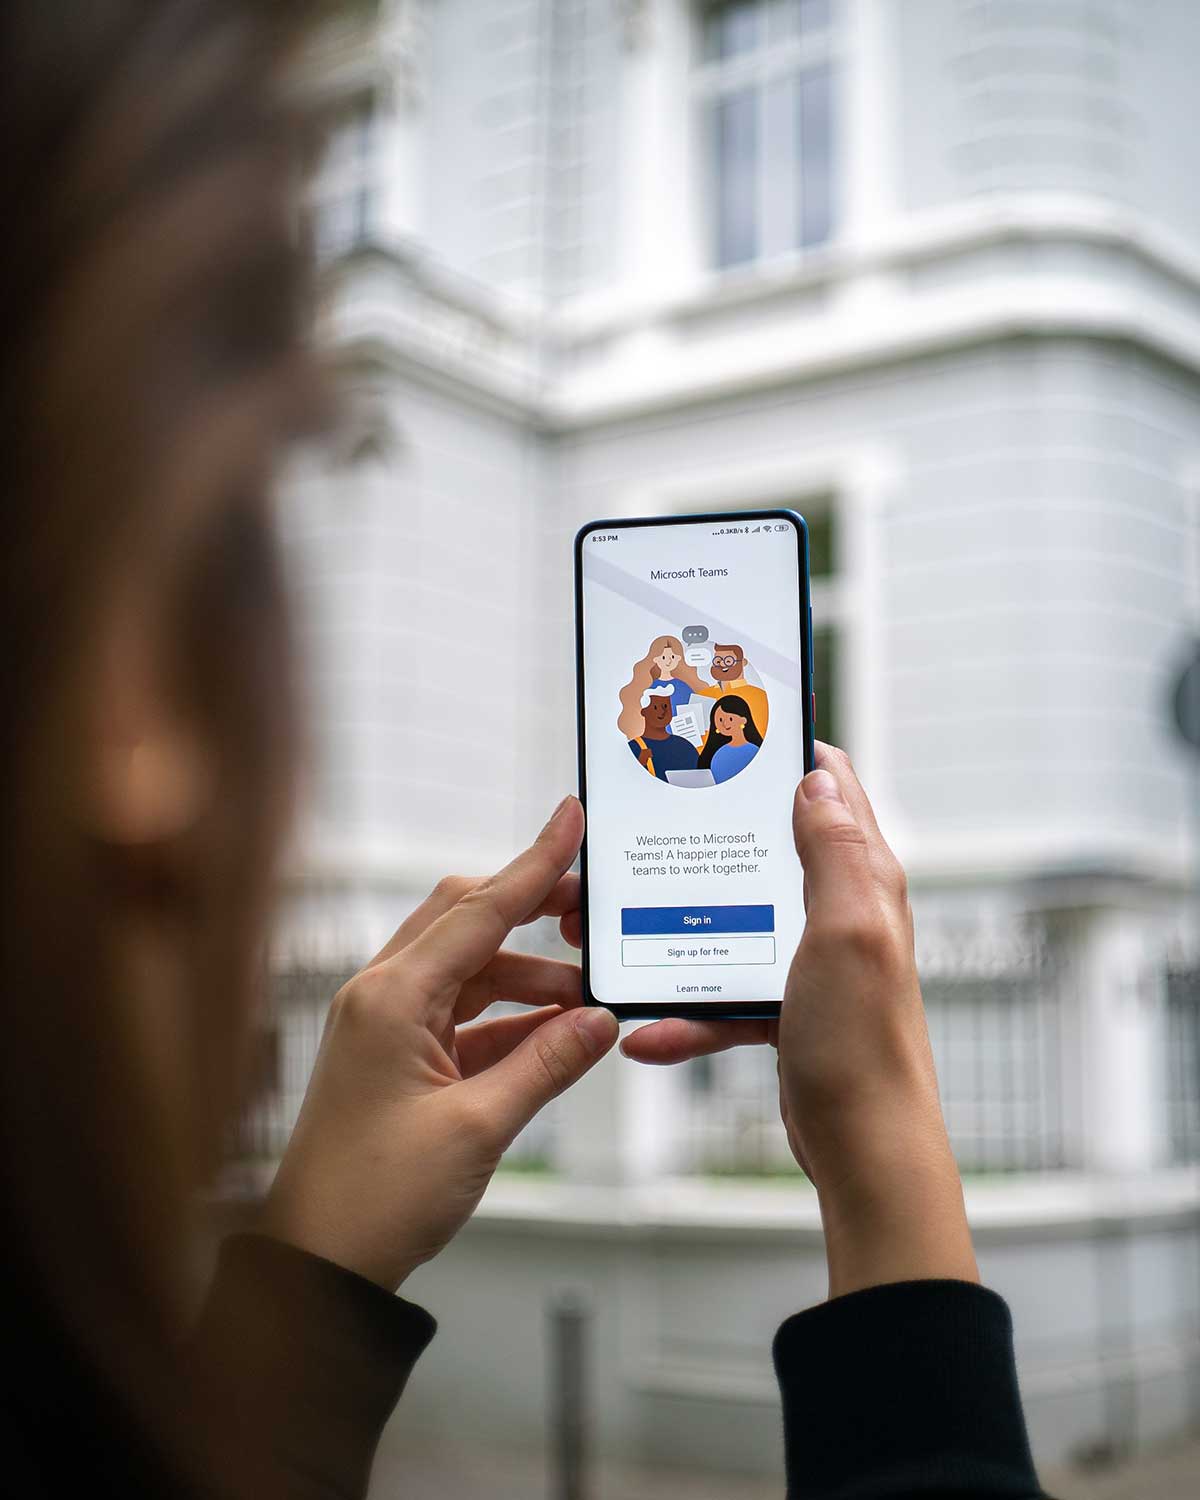
You can use Teams by signing in to your University of Salford Microsoft 365 on your web browser, installing it to your computer/laptop, and downloading its excellent mobile app.
It's easy as 123
Join
Set up
Take part
Join an online meeting
You will need a microphone and speakers or earphones to communicate. They can be built in or connected to your computer/laptop.
- Open Teams via office.com or your Teams desktop icon (if installed) and select 'Calendar'.
- Find and open the scheduled meeting.
- Select the 'Join Microsoft Teams Meeting' link or 'Join' button.
- Switch on your audio and the camera as required; you can also do this within the meeting.
- Select 'Join now' to enter the meeting.
- To leave the meeting, select the 'Leave' icon.
Tip: Teams invites automatically appear in your Microsoft 365 email account, so you can also join a scheduled meeting via an email invite or your Calendar.
Inside a meeting
Enhance your online meeting, workshop or lecture by using a range of tools. Here are some of them:
- ‘Chat’ - allows you to ask questions and share comments and information that can be seen by everyone in the meeting. Your lectures/workshops may offer a Q&A tool where you can post your questions and use the Chat tools for comments or accessing shared web links and files.
- ‘Raise’ - can be used to attract the attention of the speaker.
- ‘Video effects and settings’ - allows you to blur your background/display a background scene when your camera is switched on.
- ‘Live captions’ - captures what is said in real time on your screen.
When meeting presenters use a tool called PowerPoint live you will be able to use other accessibility options, such as magnifying slide content, and translating slide content into a different language.
Share your screen

You can show your desktop, a specific application, or an application file while in a meeting.
- From the meeting control bar, select 'Share'.
- Select what you want to share:
- 'Desktop' - lets you share everything on your screen. Choose this option if you want the flexibility of being able to move between multiple applications. For a seamless presentation, close any unnecessary applications before joining the meeting.
- 'Window' - lets you share a specific application. Open the required application/window before joining the meeting so that it is listed as an option.
- 'PowerPoint Live' - if delivering a PowerPoint presentation, choose this dedicated PowerPoint option as it offers enhanced features. Locate your presentation under the 'PowerPoint Live' heading. If the file is not listed, select the 'Browse' link to find it on OneDrive or your device. Your audience will view your presentation as if in Slide Show mode.
- 'Whiteboard' - lets you write, sketch, and collaborate with meeting participants in a visual way.
- After you select what you want to share, a red border surrounds what you're sharing.
- Select 'Stop sharing/presenting' to stop sharing your screen and return to the meeting window.
The Teams Mobile App
The Teams mobile app is great tool for when you're on the move. It is ideal for checking and responding to team posts, using Chat, accessing files, and attending informal online meetings.
It is not recommended for delivering something as important as an online presentation assessment.
- Install the Microsoft Teams App via the app store on your mobile device.
- At the Sign in prompt select 'Work or school' as the account type, and enter your University of Salford email address and password.